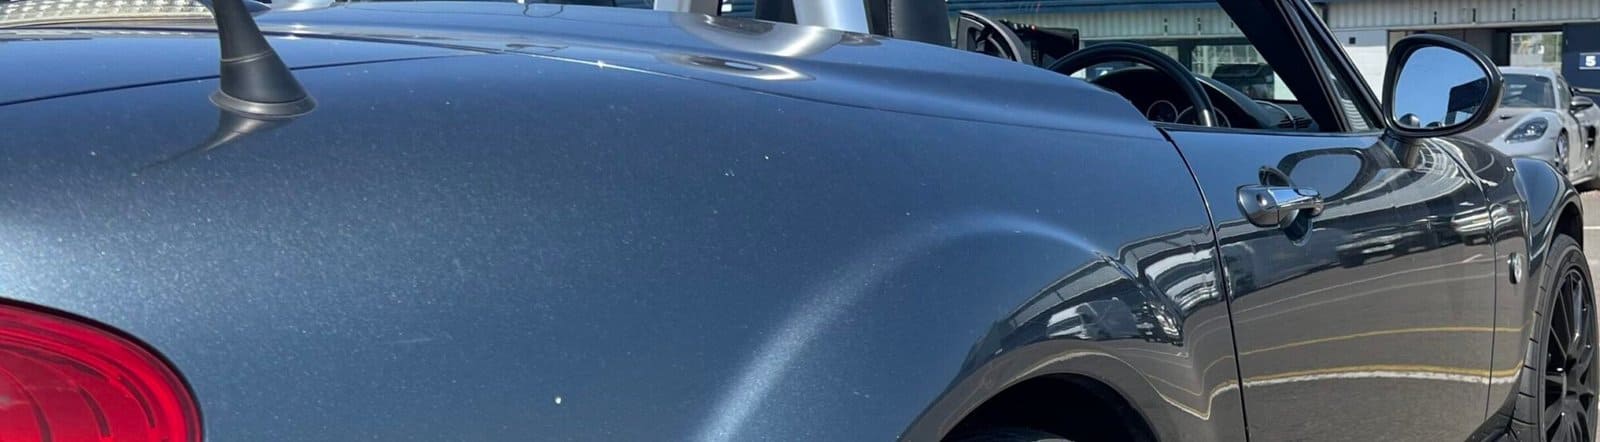
So I’d noticed the footwell carpet was wet and there was a damp musky smell in the car. I pretty much knew what this would be as my previous MX-5 had a similar problem when the drainage channels under the soft top clogged up. The other well known fault was the plastic holders for the screws which secure the panel under the windscreen and this is what my leak turned out to be.
I’d researched the solutions – here’s a link to Completely Driven which is one of the many resources on YouTube I use to think about how to go at fixing the (any) problem with the car.
I’d ordered parts from MX-5 Parts, these are push-fit rectangular clips with a waterproof seal, The OEM ones go brittle over time and the seal breaks allowing rainwater into the footwell.
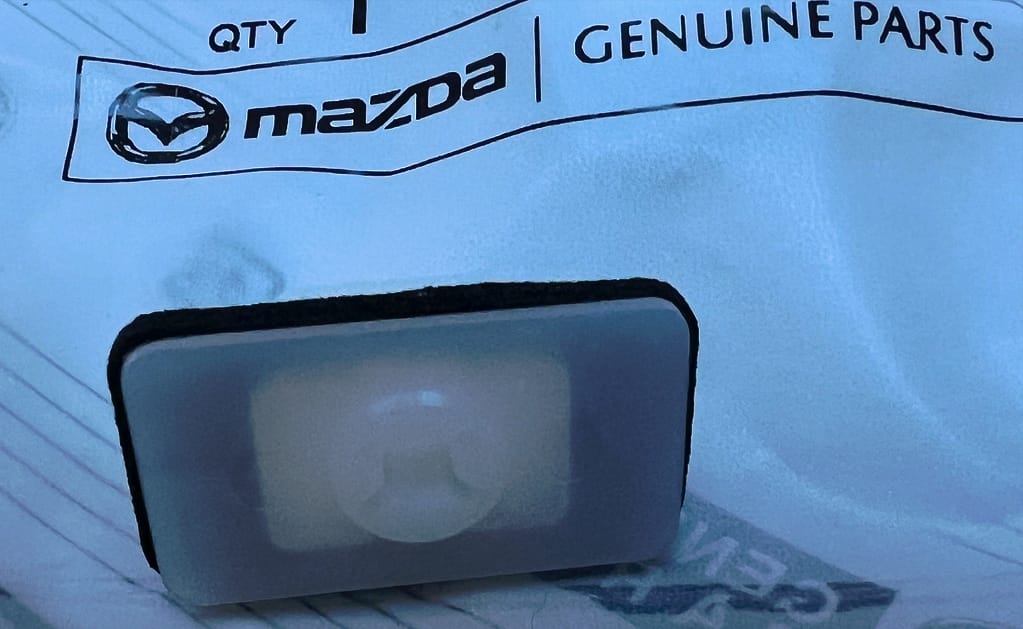
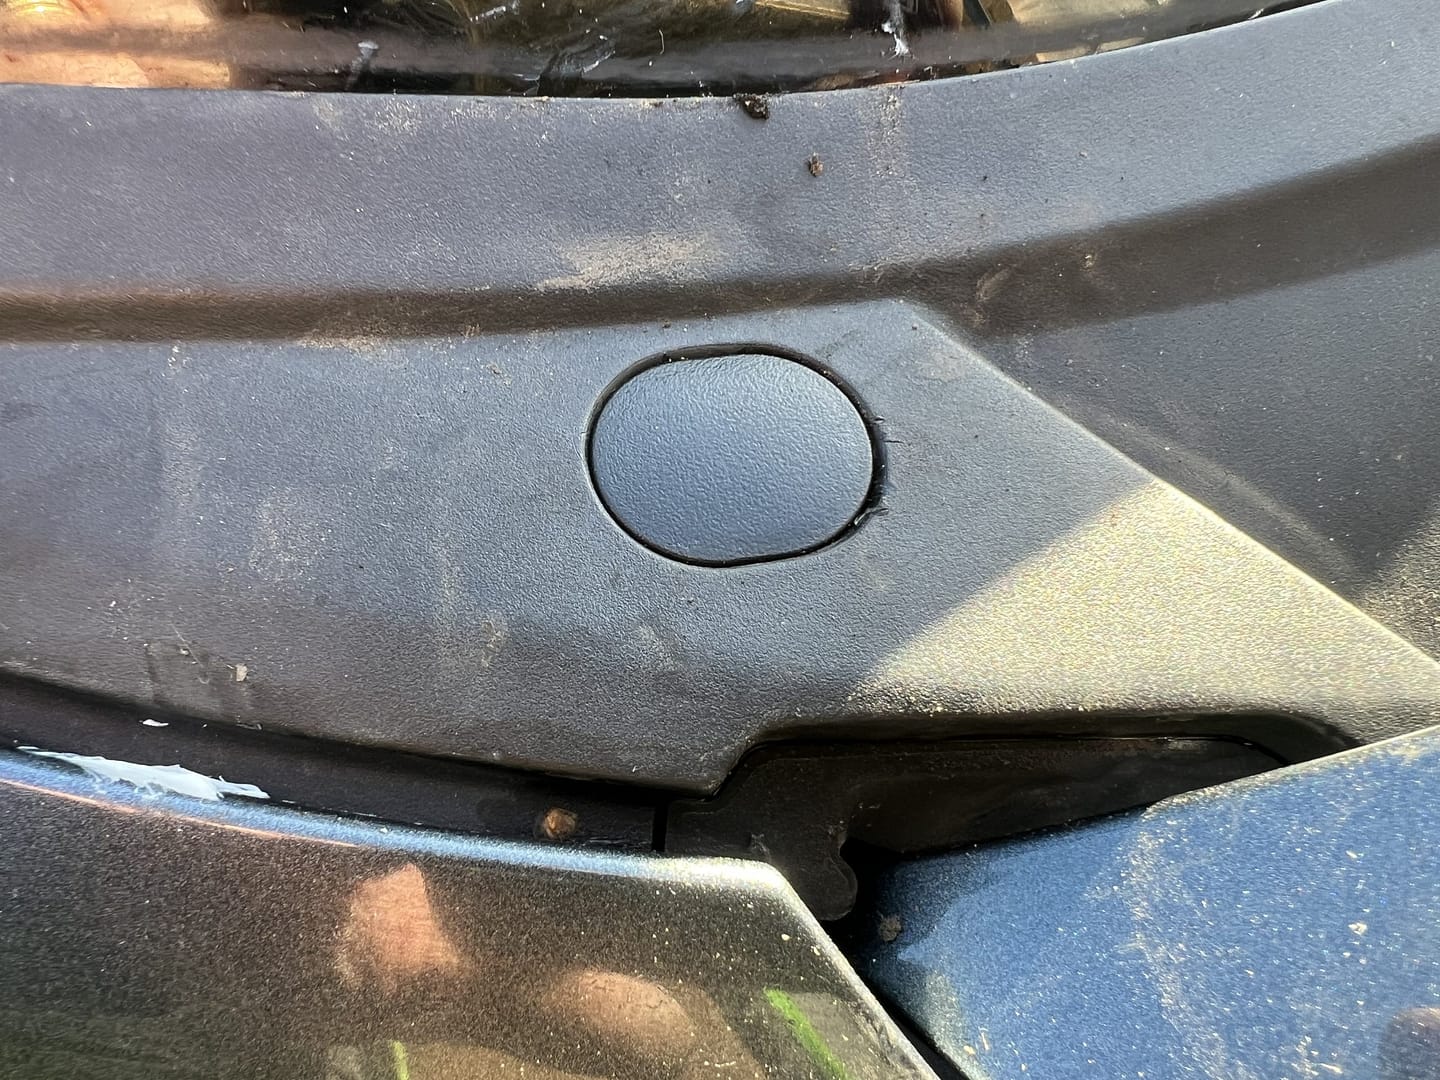
I’d ordered the parts from MX5 Parts and they’d arrived in good time I’d also ordered replacement cover which are said to have a tendency to be brittle and break when removed. Mine were fine but I replaced them anyway and so now have the old ones for back-up.

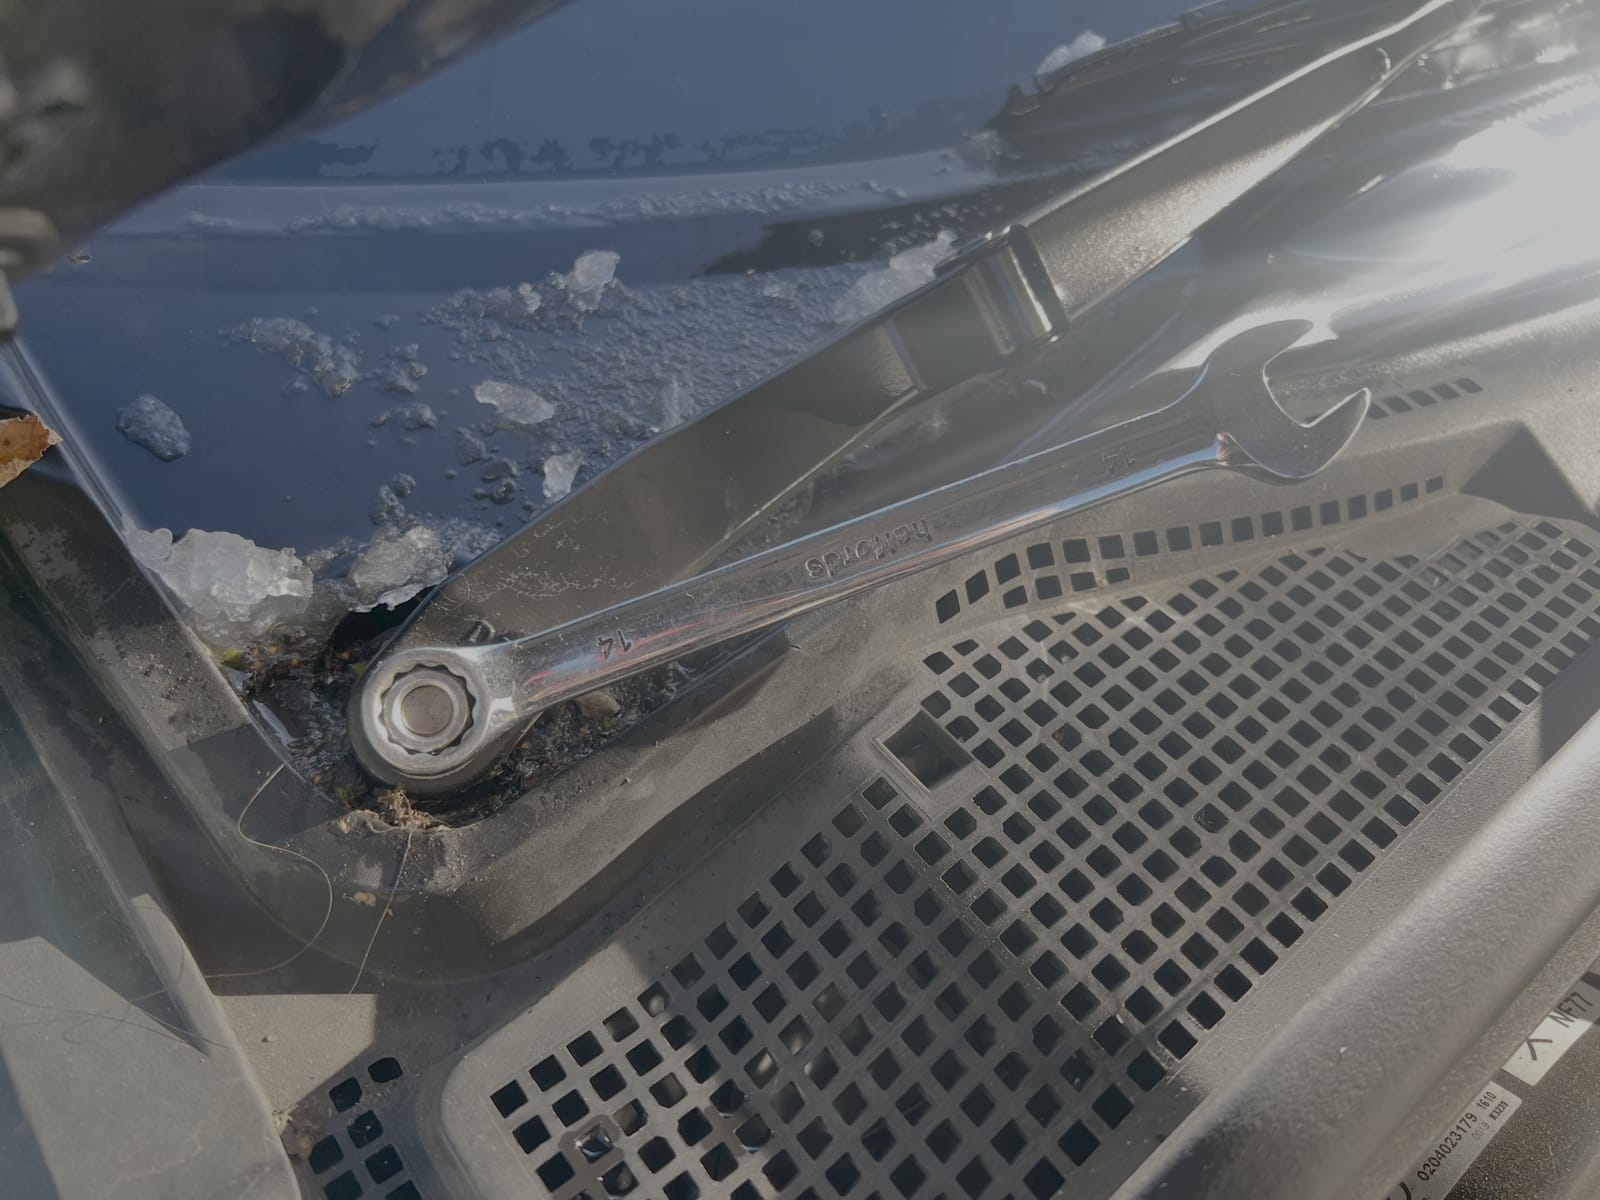
Once the cover (see image above) is removed there is a cross head screw to be removed and then the process of removing the windscreen wipers can begin (14mm Ring Spanner). Resist the temptation to clean the windscreen – the marks will help you position the wipers correctly when you are ready to replace them.
The two part scuttle can then be separated from the body of the car by undoing a few clips. I found I didn’t need to disconnect any water tubes or rubber seals.
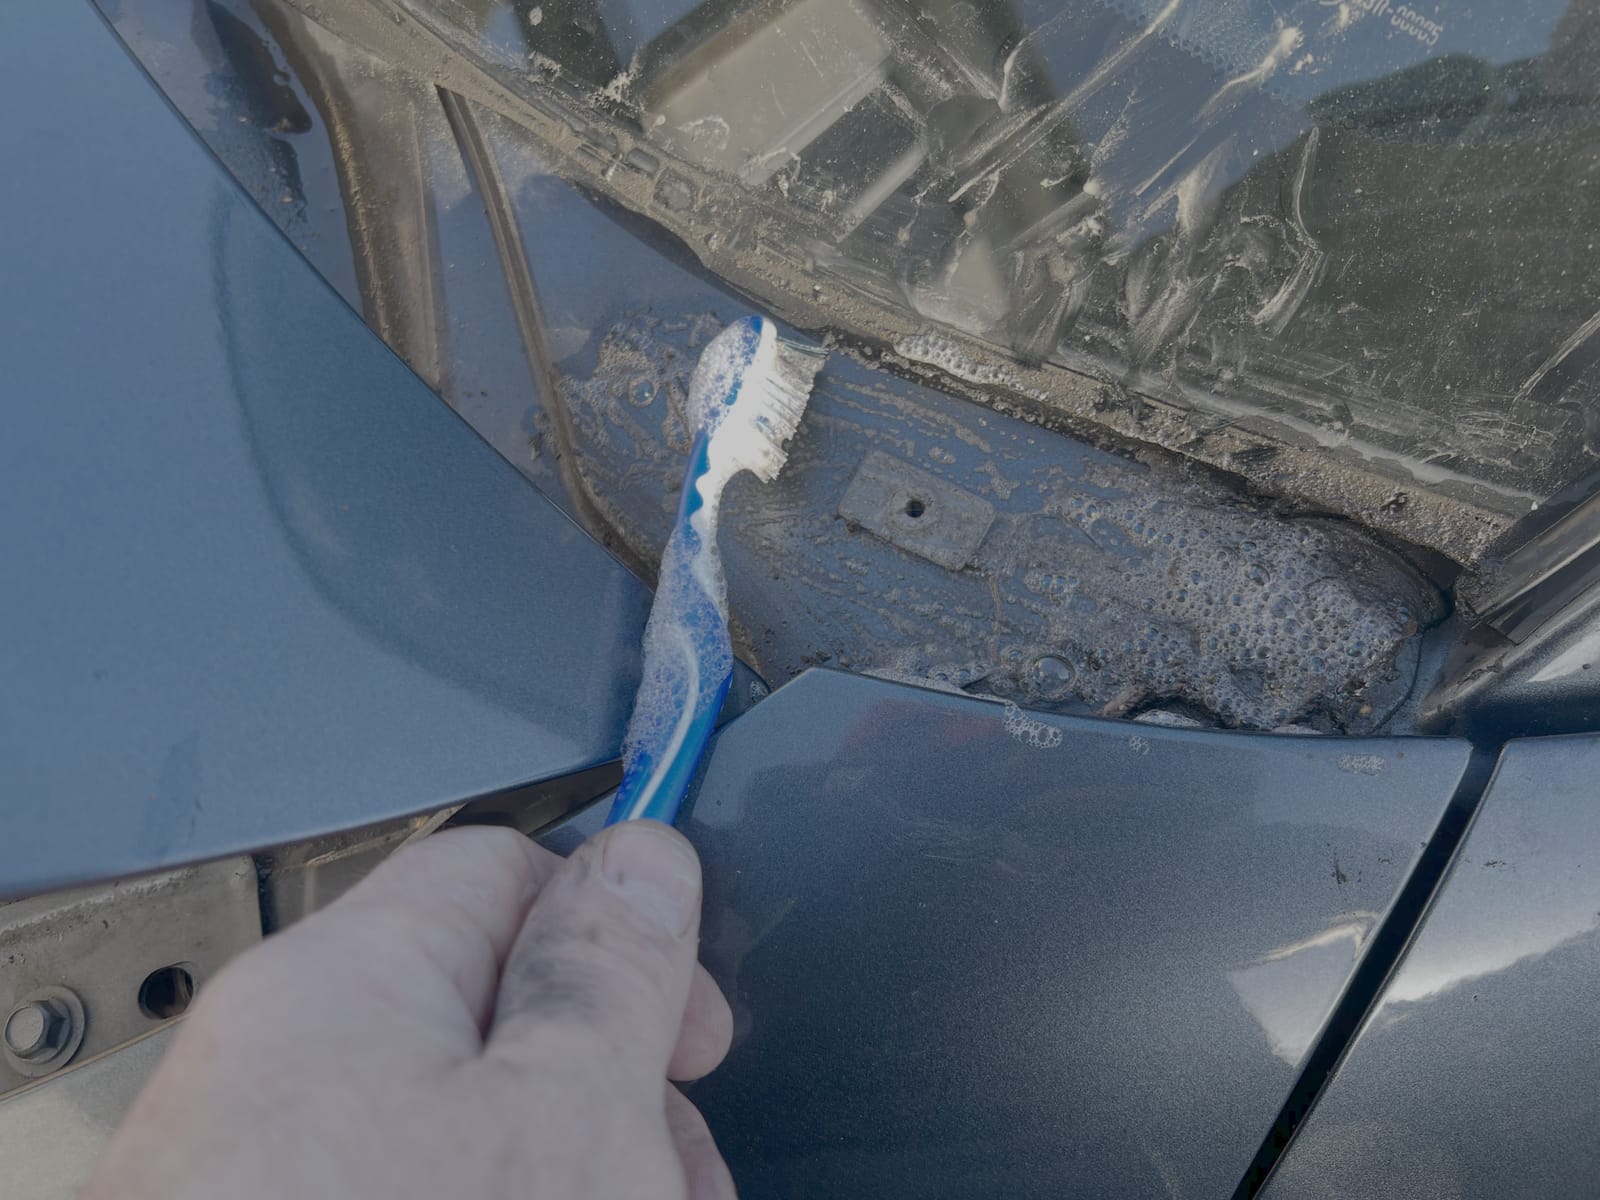
The grubby state of things under the scuttle needed cleaning. during this process it was easy to notice how loose the screw mount was and easy to see how water could leak past it. Both sides of mine where in need of replacing and I’d already decided to replace both rather than have the faff of doing it again in a year or so.

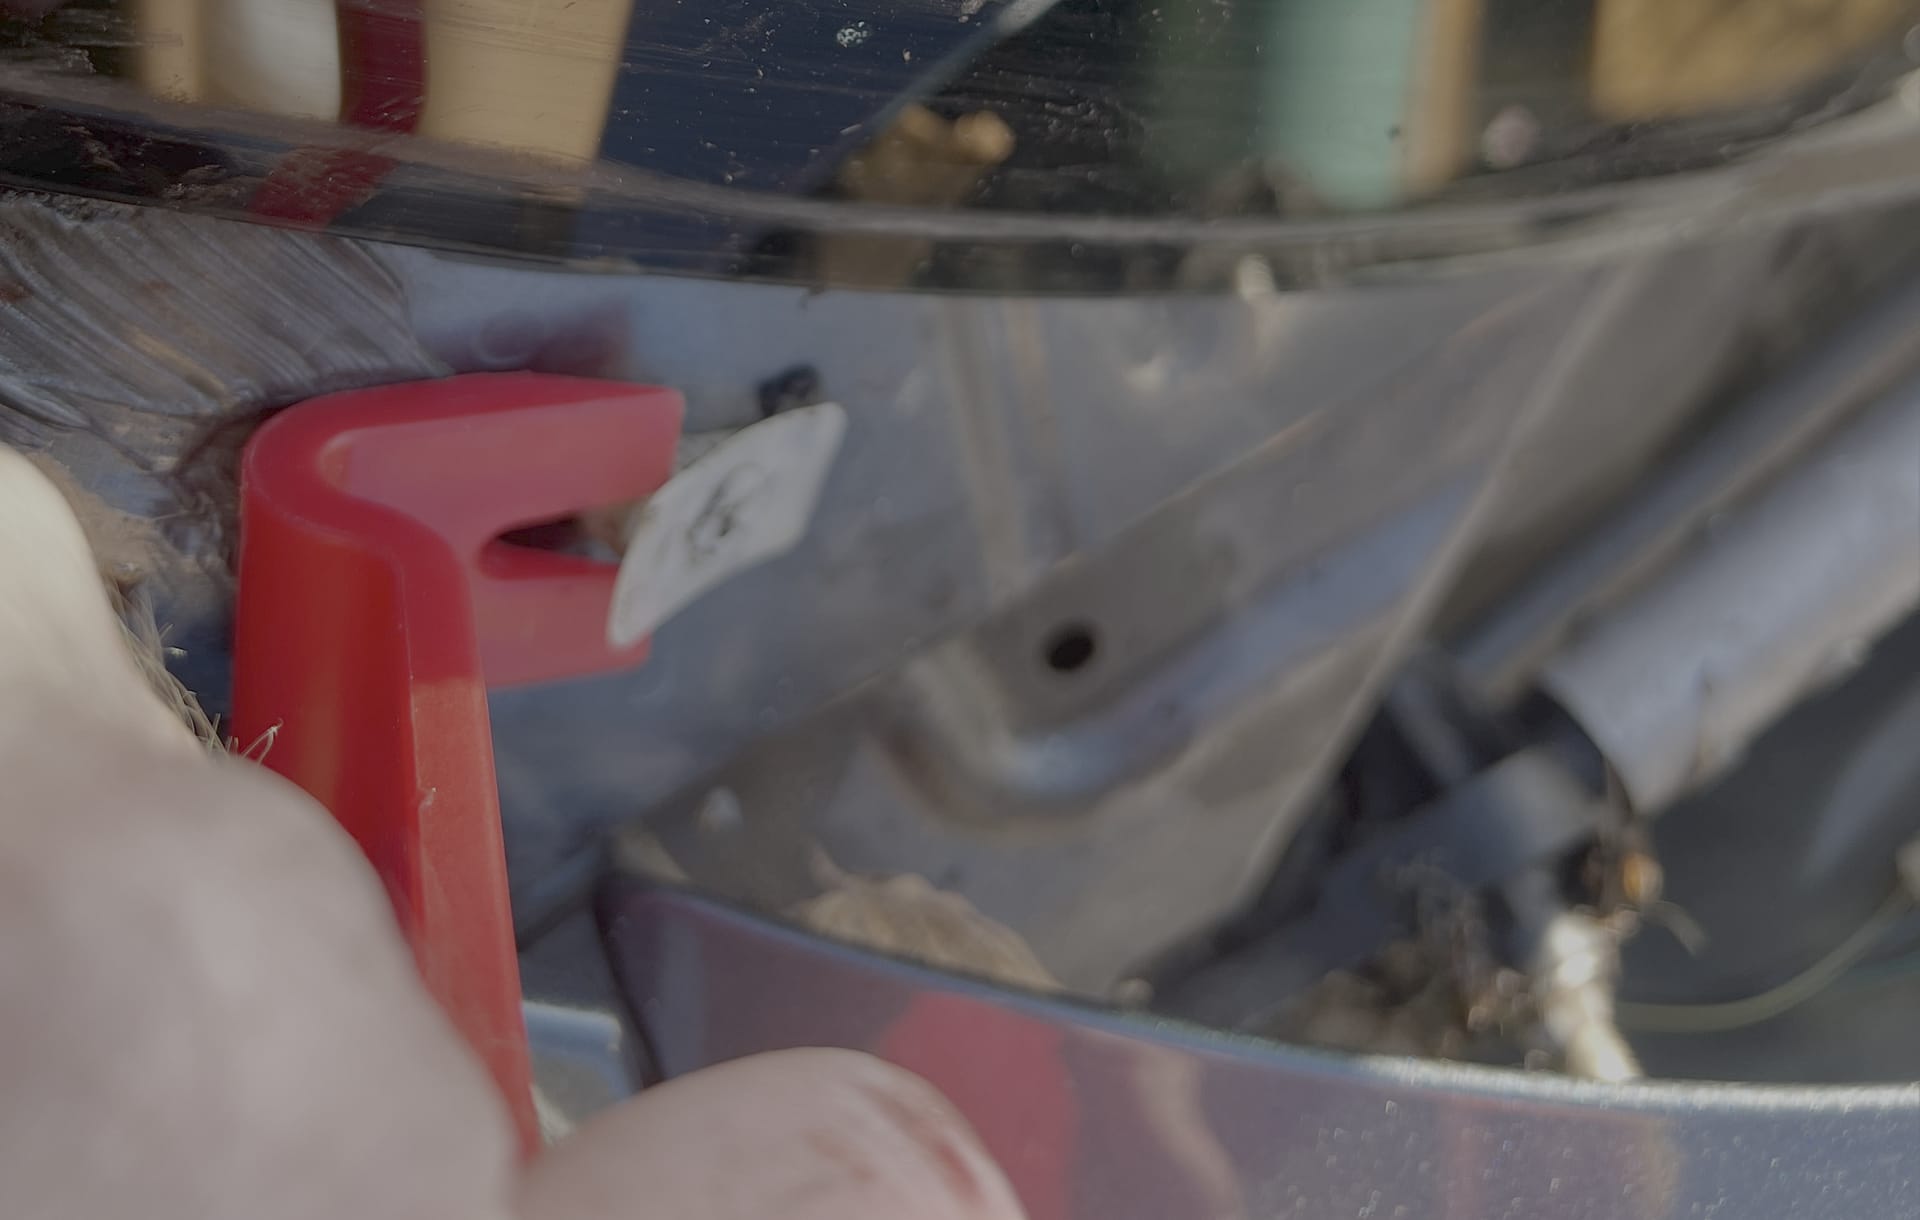
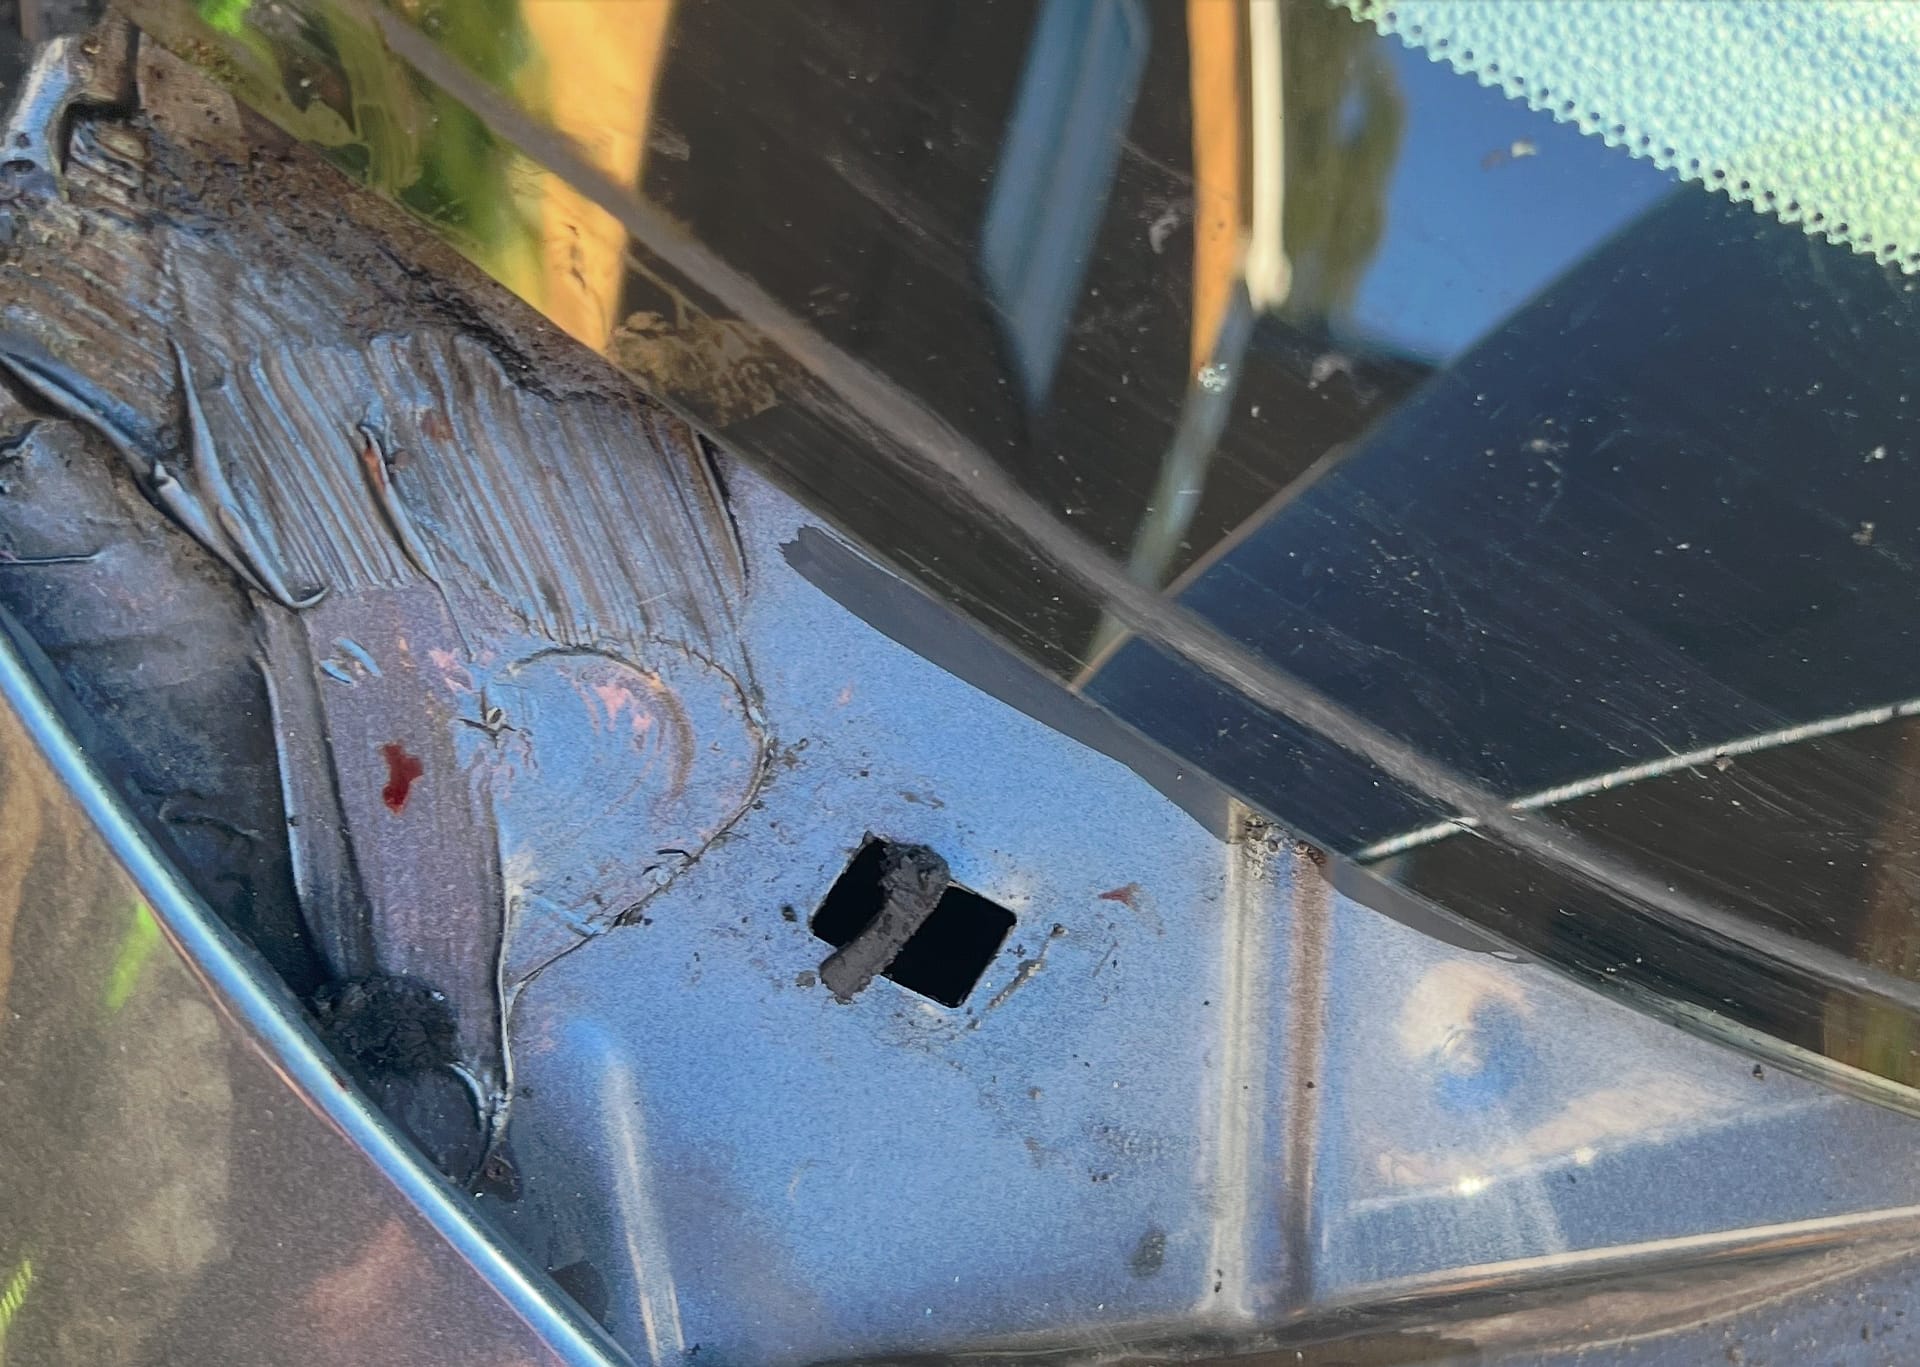

The new parts just pop into the hole and spring clip into place. I doubled-down by adding bathroom sealant around the edges and top of the new part.
As a heads up the rubber seal at the head of the scuttle is held in place by a some white plastic T shaped clips and the scuttle front also has some plastic clips to clip it into place. So If it doesn’t fit then it’s probably out of alignment and that’s where to look.
Putting it all back to together was the reverse off taking it apart.
Im pleased to say it all went back together pretty easily and after more heavy rain the carpets are still dry so I’m quite pleased.
The bad news is that when I was down feeling the carpet I noticed there a crack in windscreen from a stone chip so that will need doing before the MoT.

