Category: Safety

  • Set the controls for the heart of Thruxton

    Introduction

    So this week I’ll be popping over to Thruxton Circuit for some fun in the sun. I’ve done the driver briefing and filled in the wavers so I’m good to go.

    Car Preparation

    As usual the weather guru’s have been consulted and predict hot and sunny with 20c to 29c during the core day. So it looks like it’ll be a top down kind of day.

    The Yokohama’s (AD08’s) will be the tyres of choice resplendent on their black rims.

    Tyre pressures have been checked (1.9 Bar), wheels torqued up to spec (100Nm) oil level has been is checked, ditto the coolant level. It’ll all get checked again when I get there.

    Super Unleaded will go into the tank and extra in the can on the morning of departure and I’ll get sandwiches, pop & crisps for the day at the same time.

    A tool box, work mat, fuel can, a picnic chair, tow-bar, tyre inflator, pressure gauge, a puncture kit and umbrella (as a mini sunshade) will go in the boot.

    Sandwiches, pop and crisps; helmet, HANS and anything else will go in the passenger seat or footwell. I’m on my own for this one, no support car for me.

    I’ve charged up the batteries on the GoPro so I can have a go at recording some video this time.

    I’ve noticed the air-con might be a bit feeble so the journey back might be a trifle warm, we’ll see.

    Mods since last time

    On this occasion I’ve added some chasis bracing to the frame so it will be interesting to see what effect this will have on handling. I’ll write it up next week.

    I’m not sure that the new rain light will have much effect on a sunny day though it also adds an extra brake light repeater function which may help those overtaking me, know wha I’m up to!

    As above I’ll be running on the Yokohama’s rather than the Dunlop’s.

    Can’t wait…

  • Rain-Ready Now

    Rain-Ready Now

    After the biblically wet track days at Silverstone and Thruxton recently, I decided to take the hint and get a rain light. Of course it’s not as simple as, “Lets buy a rain light”, you then need to navigate the options.

    Choice 1: I decided that I wanted an FIA approved one so that it was of a modern standard and not just something cheap which may or may be of use. So I bought something that was compliant with the FIA’s 2019 reg’s (yes I know I’m not competing – but being compliant with current race regs reassures me it will be track relevant).

    Choice 2: Round or Rectangular? I opted for rectangular merely as I liked the link of it more.

    Choice 3: Flashing or Constant? I read that flashing rain lights are easier to see than constantly illuminated ones when you are following from behind. In my Silverstone Post I talk about cars passing and nothing being visible behind the cars but grey water; so anything to improve my on-track safety drove me towards a flashing rain light.

    Choice 4: Flashing, Flashing and Brake Light or choice of Flashing with constant via switch; I chose to wire it as brake Light repeater with a switch operated flashing function. Obviously I don’t need to be completion class rules compliant which would have limited my options .

    ÂŁ150+ later I was the proud owner of the CarTek 8874-2019 Rectangular Model Rain Light.

    FIA Flashing Rain Light from CarTek

    Instalation

    The three wires were expended with soldered wires and heat shrink and then I extended the heat shrink to to a length that takes the protection well under the car.

    As I was rooting around in the boot I noticed a large rubber grommet which gave me an entry point for the wires. Once the wires were brought up into the boot I found an earth point near the rear lights and then tapped the red wire into the brake light loom. The final blue wire which is the feed for the flashing function was fed through behind the seats and into the cabin under the centre console and the onto the designated switch.

    I’ve removed the panel below the radio which usually houses the lighter, aux audio input point and heated seat switches a while ago and eBayed the same panel from a lower spec NC and installed the illuminated switches for this unit and the intercom.

    As the switch is illuminated I ran a power feed off an auxiliary fuse box to the switch and ran an earth to an earthing point under the centre console.

    So there it is, I now have an additional brake light repeater and when required I can run a flashing rain light on track days.

    Another option would have been to rig the rain light so that the flashing function requires the headlights and rear lights to be on. I’ll think about it but and the implications for the future.

    First Impressions

    It was easy to instal, it’s bright and it works. I like it.

    Ironically there’s a yellow warning for heat out at the moment and no rain forecast for some time. Probably just in time for when I return to Thruxton next month.

  • Heads-up: BC Racing DS Shocks

    Decision made, have ordered some BC Racing DS Coilovers.

    Deep joy.

    TBC

  • Foggy Headlights – Cured

    Foggy Headlights – Cured

    I love it when the plan comes together, I’ve been meaning to sort out the foggy headlamps on the car caused by the plastic being aged by UV over time and have been watching YouTube videos about re-polishing headlights that are going cloudy; something you see on MX-5’s a lot.

    Usually they show a wet sanding method moving up through the grades of paper to the finer ones. In one video I watched the lad spoke about his dad just going straight for some T cut. In my head I combined this with another one in which the presenter pointed out you can buy headlamp polishing kits for this sort of thing.

    This got me thinking about what if I bought a rotary polishing sheepskin wheel for my drill and used the T-cut I already had for polishing would this work?? Well yes it does.

    So my method was to apply the polish to the sheepskin wheel and then went at it with the slower speed setting with the drill. I followed the shape of the lamp, concentrating on the milkiest areas and also did some rotary patterns to mix he polishing actions up.

    I reloaded the pad with polish after one song on Planet Rock with associated DJ chat and then repeated the process for a similar amount of time.

    To be honest as the T-Cut starts to dry while you are polishing you can see if you are making progress.

    1) Foggy Headlight – not yet an MoT fail.
    2) T-Cut to Polish Light
    3) Drill with polishing wheel and sheepskin
    4) Result after two five minute sessions

    Now follow-up is more tricky as you need to coat the lens with something to protect it from UV going forward and I have some headlamp film to do that which I’ll fit next time. I

    I’m very happy with the result.

  • Broken Key – Sorted

    Broken Key – Sorted

    One of my car keys got broken beyond repair when the transponder chip got damaged as well as the casing.

    Researching the solution I found I would be fine if I had two working keys but sadly I only had one.

    Worse, Google’s AI told me it thought the cost for replacement would be painful. I put it of for a week or two but solid track day bookings meant I’d need to get it sorted out in the short time I had left.

    I phoned a local auto locksmith (Doms Locks) explained the predicament and he told me that I could be up and running with a non-branded three button key, cut to match my MX5 key profile and with a transponder chip programmed for my Mazda for ÂŁ160…. SOLD I said.

    So he drove over in his van, cut a new key and programmed the transponder and the other key functions. I have to say I’m really happy with it and I now have two perfect keys once again and I got to talk about cars with another petrolhead for an hour.

    The key’s buttons have open, lock and boot opening functions but not the alarm isolation button that I’ve never used anyway. It is not a match for the OEM as you can see from the photos but it all works and the car is unlikely to be worth very much anyway should I ever sell it.

    So if you are in the Berkshire/Surrey area and need a key replacing, he might be worth a call.

    Next week the car is off to Aylesbury have its steering wheel modded and reupholstered in leather – more of which soon.

    It even comes with a Mazda badge
    Replacement non-manufacturer replacement key with Mazda badging.
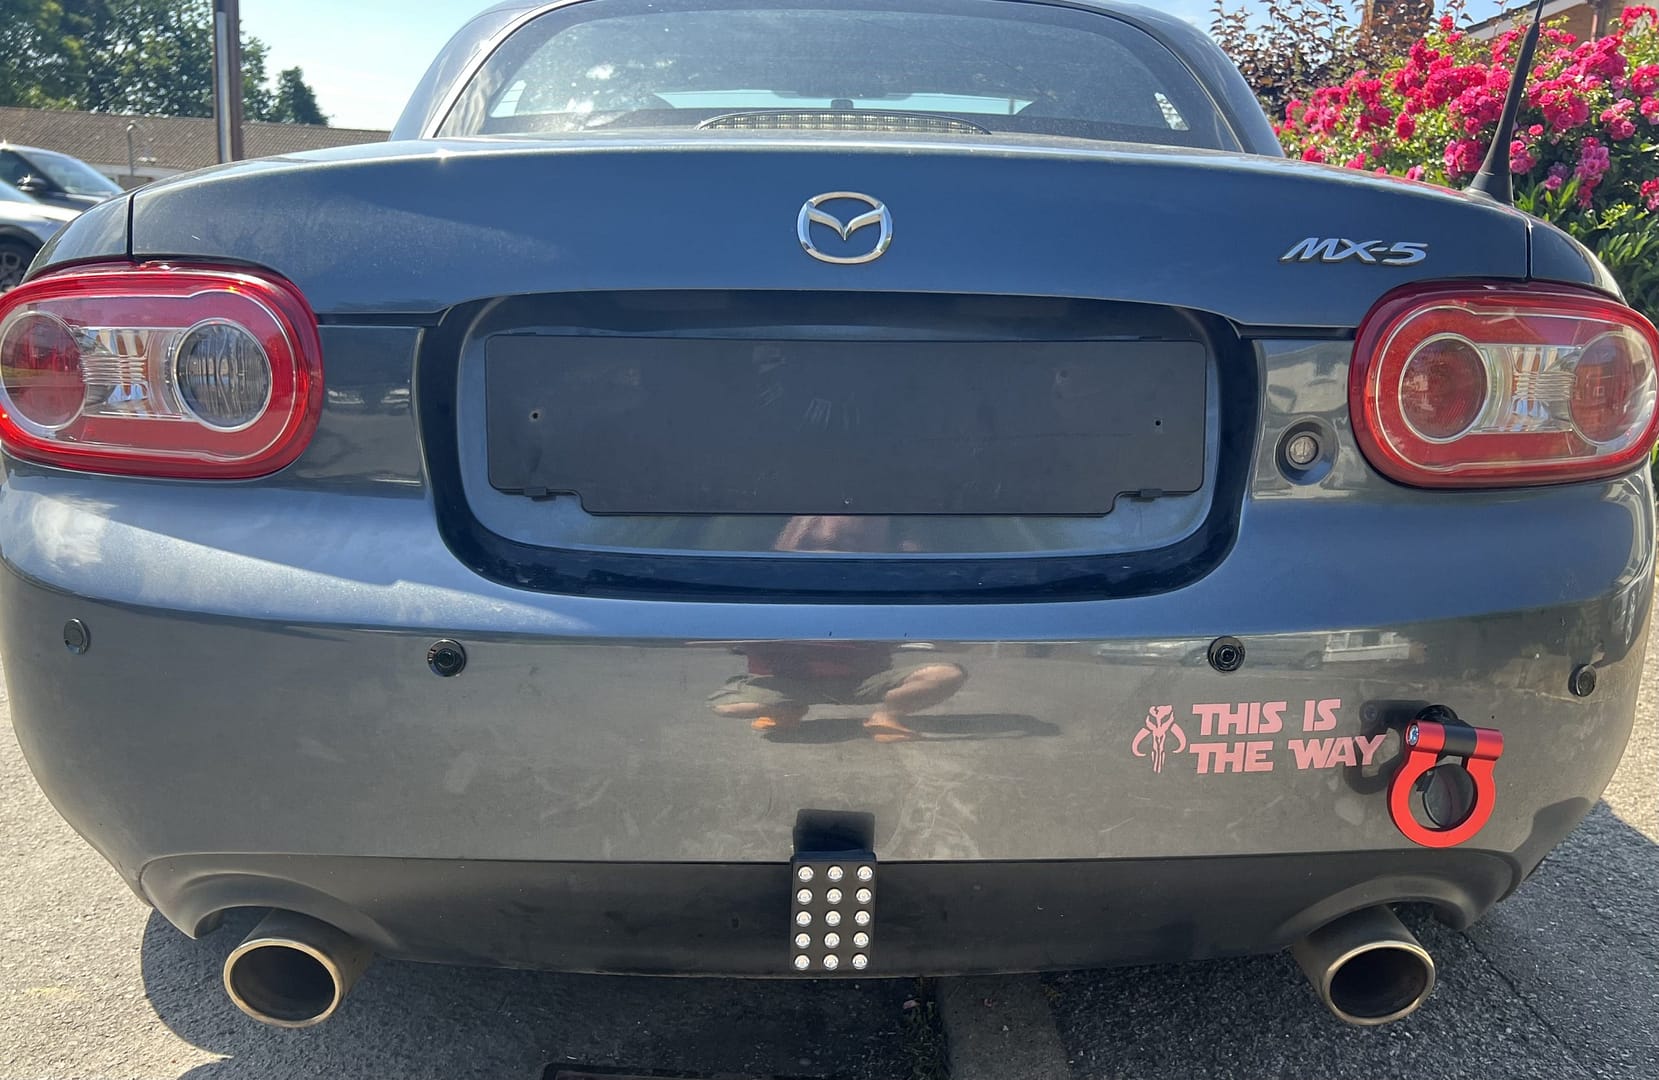
  • New Towing Eye

    New Towing Eye

    I’ve always been concerned that the OEM towing eye was a hazard for pedestrians when I was not on track and also that removing it left access for water and created a rust trap – as with the rear one that I had to replace as it was corroded badly.

    So I decided to replace it with this one from Jass Performance. It screws straight in and looks better than the old one. ÂŁ38 well spent.

    Im booked in now for Silverstone GP Circuit and Thruxton, so on with prepping the car.

    Dilema

    I’ve managed to break on of my keys when it literally fell apart on me and I’ve no transponder for a replacement.

    The question is whether to risk it or get another key. Apparently I need two working keys to programme a third.

    TBC

  • Nice new windscreen fitted, next the MoT

    So it’s been raining (again) and is therefore the perfect day for Autoglass to come and change the windscreen. I’d noticed a crack in the screen when I was fixing the water leak and it seemed long enough to cause concern about my upcoming MoT so it needed sorting out.

    The process was painless enough, book it in for a date, confirm and find its a different date to the one you wanted so change it and get something more convenient.

    They ping you by text to say they’ll be there sometime on the day you want then nearer the time they give you updates to say they are on their way.

    The lad who fitted it was friendly and got on with it under the really impressive awning/cover mounted on the roof of their van.

    Anyway it’s done, the screen looks beautiful and much cleaner than the old one. The instructions were something like don’t drive it for half an hour, don’t wash it for 24 hours, don’t worry about the rain that’s ok.

    Next up I’m going to book the MoT and then cross my fingers in the hope that I can then get the season underway and get it filthy again.

  • Number Plate Light Upgrade

    Number Plate Light Upgrade

    So there’s the little matter of an MoT test to prepare for. The number plate bulbs have always been an issue for me and the ones in the MX5 have been temperamental since I got it. So I decided to fit LED ones in the hope of adding reliability.

    Again they were bought from MX5 Parts, arrived promptly and were pretty simple to install, with just a simple slide to one side to remove the old units.

    popped the old unit out
    the buld housing connected
    view of old unit from behind
    the old plastic light holder
    old unit and new unit attached you can see difference in brightness
    Here you see the brightness comparison
    New units in place. That rust is playing on my mind
    Job done

    Fitted they worked immediately and without fuss. They seem much brighter than the the bulbs they replace. Time will tell about reliability but so far so good.

    Now that it’s completed I’m happy with the product, but that rust on the boot is a worry.

    I could treat it, but in truth I’m starting to think about,”… simplify and add lightness”, once the MoT is over.

  • Side Repeater Replacement – Dark & Moody

    Side Repeater Replacement – Dark & Moody

    Having made the Mazda weatherproof once again, I decided to replace the side indictors from white to something more dark and moody to match my track day wheels.

    It’s not a difficult swap, basically you slide out the old units plug the new one into the bulb holder and re-insert the unit into the hole. It’s advisable to grip the old wires to stop them falling to the body cavity (I used a peg).

    If like me you fail to recognise the simplicity of the design and remove the bulb holder and trim the contacts, then when your asleep that night you will wake up in the wee small hours and realise your error fails to make the unit waterproof and you will need to go back and fit the bulb holder which has a rubber grommet to stop the water getting in.

    Anyway its done and I like the look.

Optimized by Optimole