Category: The Car

These posts relate to the development of the car

  • Number Plate Light Upgrade

    Number Plate Light Upgrade

    So there’s the little matter of an MoT test to prepare for. The number plate bulbs have always been an issue for me and the ones in the MX5 have been temperamental since I got it. So I decided to fit LED ones in the hope of adding reliability.

    Again they were bought from MX5 Parts, arrived promptly and were pretty simple to install, with just a simple slide to one side to remove the old units.

    popped the old unit out
    the buld housing connected
    view of old unit from behind
    the old plastic light holder
    old unit and new unit attached you can see difference in brightness
    Here you see the brightness comparison
    New units in place. That rust is playing on my mind
    Job done

    Fitted they worked immediately and without fuss. They seem much brighter than the the bulbs they replace. Time will tell about reliability but so far so good.

    Now that it’s completed I’m happy with the product, but that rust on the boot is a worry.

    I could treat it, but in truth I’m starting to think about,”… simplify and add lightness”, once the MoT is over.

  • Side Repeater Replacement – Dark & Moody

    Side Repeater Replacement – Dark & Moody

    Having made the Mazda weatherproof once again, I decided to replace the side indictors from white to something more dark and moody to match my track day wheels.

    It’s not a difficult swap, basically you slide out the old units plug the new one into the bulb holder and re-insert the unit into the hole. It’s advisable to grip the old wires to stop them falling to the body cavity (I used a peg).

    If like me you fail to recognise the simplicity of the design and remove the bulb holder and trim the contacts, then when your asleep that night you will wake up in the wee small hours and realise your error fails to make the unit waterproof and you will need to go back and fit the bulb holder which has a rubber grommet to stop the water getting in.

    Anyway its done and I like the look.

  • Track day seats, another rabbit hole (Part One)

    Track day seats, another rabbit hole (Part One)

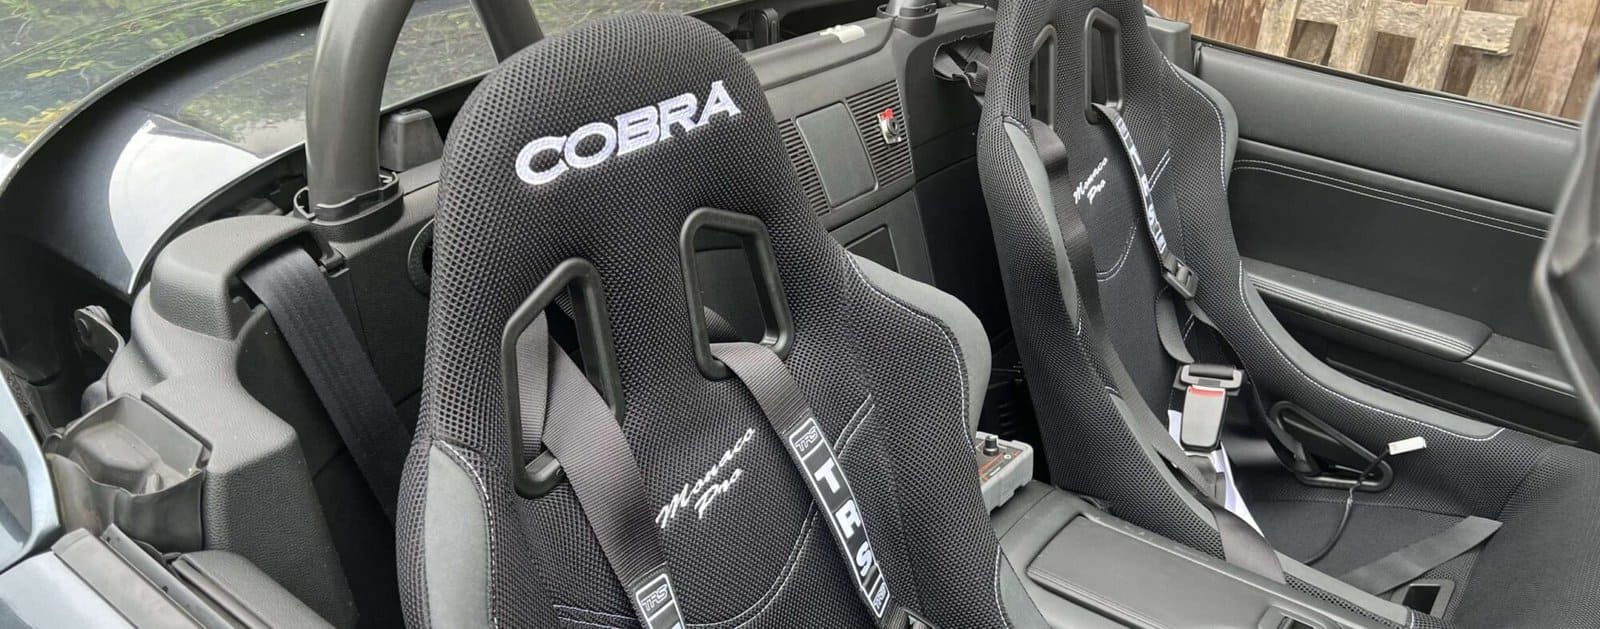
    It is surprisingly difficult to purchase seats for your Mk3 MX-5 with confidence. Since installing the roll bar I’ve become preoccupied with the fact that I have a harness bar that I’m not using, that most of what I’ve read tells me you shouldn’t use a full harness with a OEM seat that doesn’t have the proper slots behind the shoulders to keep everything in alignment; that a full harness shouldn’t be used without a HANS device to protect your head and neck; and that if you roll it with a full harness you cant move your head out of the way or the dangers of submarining with four point harnesses. So In these next few posts I’m going to have a go at sorting it out in my head.

    The Cars Current Spec

    My Sport Tech has leather seats with heaters, side air-bags and height adjustment. I refurbished them shortly after I bought the car as the drivers seat was worn at the entry point and scuffed white in colour. I’d bought a two-part kit off eBay which was essentially a colour restorer and leather conditioner. The results were pretty good and have lasted the year since I bought the car. I don’t really go fast enough to need bucket seats but I remain hopeful.

    Seat Base(ics)

    If you are content to have a fixed seat there will be no problem once you have found a seat that fits, in finding a seat base which won’t be too expensive.

    For us the problem comes when you have drivers of differing leg lengths and require a sliding seat mount. The solution is likely to be expensive unless you have fabrication skills or the equipment to adapt the OEM runners.

    YouTube, at least mine seems to be poor on this subject and there is space here for you content creators to fill. In order to get my head around the subject I spent the morning taking my driver-side seat and runner apart.

    Taking the seat out

    My seat is armed and dangerous, with a side airbag which would ruin you day if it went off while you were near it; so I disconnected the battery and waited a while for the system to become safe.

    I separated the large white connector clock by moving the black tab that locks the two halves together and sliding the black connector locking mechanism back. Chair side of the connector is locked on a bar attached to the seat and the car side falls to the floor. Four 14mm bolts in the runners corners are undone and the seat can be removed from the car. You then stand there aghast at the rubbish hiding under your seat.

    Separating the runner from the seat

    Turning the seat over gives you access to the Hex bolts that attach the runner to the base. Two are easy to remove and two need a crafty orientation of the sliding rail to facilitate access through the larger hole.

    It’s at this point that you realise the bolt holes are off-set from each other and some modification to the runner or replacement thereof or of any new side mount will be required.

    Drivers Side Connectors

    Looking past the block there seem to be connectors for the Air Bag cable (defeated with a 2.2 ohm – 1w Resistor) , Seat Heater (two cables) and Seat Belt sensor cable.

    Putting it all back together was pretty straight forward. So now the thinking begins.

    ,
  • What’s the plan?

    What’s the plan?

    The with the exception of a dying battery (easily replaced) a broken fog light and perished rubber boots for the shocks all appeared to be fine with the Mazda.

    What it needed was a track day to act as a shakedown test day and act as a start point for the development plan.

    Start a Notebook & Get a Haynes Manual

    As an oldskool solution I started a dedicated notebook to log my ideas and make notes and also got an online version of the Haynes Manual for my car as a reference manual for the work which would soon be following.

    Book a Track Day

    I booked a track day at Castle Combe Circuit to give me a solid date to work towards for both as proof of concept and shakedown of the car to help me decide what would need to be done and in what order.

    Once the booking was confirmed I had a few weeks to decide what would be done to prepare the car for its first track day.

    Upgrade the Brakes

    First-off would be new brake discs & pads. Before I ever consider speed improvements it seemed sensible to look at braking and handling of the car first. road handling was sound, track handling would reveal itself on the day, but I wanted a solid start-point for braking.

    Conventional wisdom is that the braking on an MX-5 is pretty good and a big brake kit is not the first thing you’ll need. Even braided hoses were not a priority item for a beginner. Standard discs were reportedly pretty good on the Mk3 MX-5 so I elected to fit new discs all round and upgrade the brake pads over standard.

    After a bit of research I elected to go with replacement standard disks and EBC Yellow Stuff pads. These were ordered from Euro Car Parts who had an offer on. They arrived quickly and were added to the car.

    As I was replacing the disks, pads and fluid I also elected to go with HEL Performance braided lines to round off the upgrade

    Road testing revealed a sticking calliper and from forums and videos I learned that excess lubricating grease can collect behind the sliding posts and prevent the calliper working properly. Cleaning out the excess grease and torquing everything up properly seemed to cure this issue.

    EBC Yellow Stuff pads sometimes get mixed reviews especially for excessive dust. I have nothing to measure them against, but I really like them in the MX-5, This set has lasted me five track days so far and to me the pads give good feel and predictability. I’ll be buying a replacement front set soon as a stock item for when they eventually give up. I’ve also recently added some black wheels so this hides the dust.

    I measure their thickness and that of the disk after each track day so I know I’ve a margin of safety each time they are used.

    Sort Out a Telemetry Solution

    Next I’s need some way of recording lap times and video so I downloaded RaceChrono Pro onto my Phone and learned how to use it.

    Check Coolant, Brake Fluid Level and Engine Oil Level

    All were within normal limits and had been done for the servicing of the car prior to me buying it. They would be replaced following shakedown testing.

    I bought small bottles of brake fluid and engine oil for the boot in case I needed to top these items up on the day.

      Check Tyre Pressures & New Puncture Repair Fluid

      The tyres on the car were virtually new Michelins and would be fine for the shake-down. I decided that I would be looking for 2 bar (Hot) as the maximum for the tyres on these tyres on the day.

      As the puncture repair fluid was three years out of date I replaced it. The OEM electric pump was checked and worked fine.

      So that was it we’re good to go….

      With all checks complete we were good to go and Castle Combe would be my first track day.

    1. Track Day Intercom Installed

      View of TRS Jacks with helmet cable visible
      Helmet Intercom Jacks

      We found the MX-5 NC to be a noisy place to be on a track day, especially with the top down and got fed up of shouting at each other when we are on track days. I decided to try a Zero Noise full face intercom system to see if we could make communication easier.

      We put together a rough installation to test the concept at Thruxton Circuit and found it worked really well but the original location (behind the seat headrests) was inconvenient and the new location seems much more convenient especially if a seat upgrade takes place.

      Whilst the unit can be powered by a 9v battery this one has been hard wired to a fuse box, and the wires are routed behind the plastics with automotive connectors so that the plastics can be removed in the future without having to cut the intercom cables.

      The jacks are located where the two speakers used to sit between the seats on the roll bar which had been removed when the radio was upgraded and provided an easily accessible installation point and is convenient for the helmet cable.

      We cut the jack plug off the amplifier cables and bought some surface mounted jack plugs for this installation.

      All in all this seems to be a worthwhile upgrade for an MX-5 track day car.

    Optimized by Optimole