
I love it when the plan comes together, I’ve been meaning to sort out the foggy headlamps on the car caused by the plastic being aged by UV over time and have been watching YouTube videos about re-polishing headlights that are going cloudy; something you see on MX-5’s a lot.
Usually they show a wet sanding method moving up through the grades of paper to the finer ones. In one video I watched the lad spoke about his dad just going straight for some T cut. In my head I combined this with another one in which the presenter pointed out you can buy headlamp polishing kits for this sort of thing.
This got me thinking about what if I bought a rotary polishing sheepskin wheel for my drill and used the T-cut I already had for polishing would this work?? Well yes it does.
So my method was to apply the polish to the sheepskin wheel and then went at it with the slower speed setting with the drill. I followed the shape of the lamp, concentrating on the milkiest areas and also did some rotary patterns to mix he polishing actions up.
I reloaded the pad with polish after one song on Planet Rock with associated DJ chat and then repeated the process for a similar amount of time.
To be honest as the T-Cut starts to dry while you are polishing you can see if you are making progress.
1) Foggy Headlight – not yet an MoT fail.
2) T-Cut to Polish Light
3) Drill with polishing wheel and sheepskin
4) Result after two five minute sessions
Now follow-up is more tricky as you need to coat the lens with something to protect it from UV going forward and I have some headlamp film to do that which I’ll fit next time. I
One of my car keys got broken beyond repair when the transponder chip got damaged as well as the casing.
Researching the solution I found I would be fine if I had two working keys but sadly I only had one.
Worse, Google’s AI told me it thought the cost for replacement would be painful. I put it of for a week or two but solid track day bookings meant I’d need to get it sorted out in the short time I had left.
I phoned a local auto locksmith (Doms Locks) explained the predicament and he told me that I could be up and running with a non-branded three button key, cut to match my MX5 key profile and with a transponder chip programmed for my Mazda for £160…. SOLD I said.
So he drove over in his van, cut a new key and programmed the transponder and the other key functions. I have to say I’m really happy with it and I now have two perfect keys once again and I got to talk about cars with another petrolhead for an hour.
The key’s buttons have open, lock and boot opening functions but not the alarm isolation button that I’ve never used anyway. It is not a match for the OEM as you can see from the photos but it all works and the car is unlikely to be worth very much anyway should I ever sell it.
So if you are in the Berkshire/Surrey area and need a key replacing, he might be worth a call.
Next week the car is off to Aylesbury have its steering wheel modded and reupholstered in leather – more of which soon.
Replacement non-manufacturer replacement key with Mazda badging.
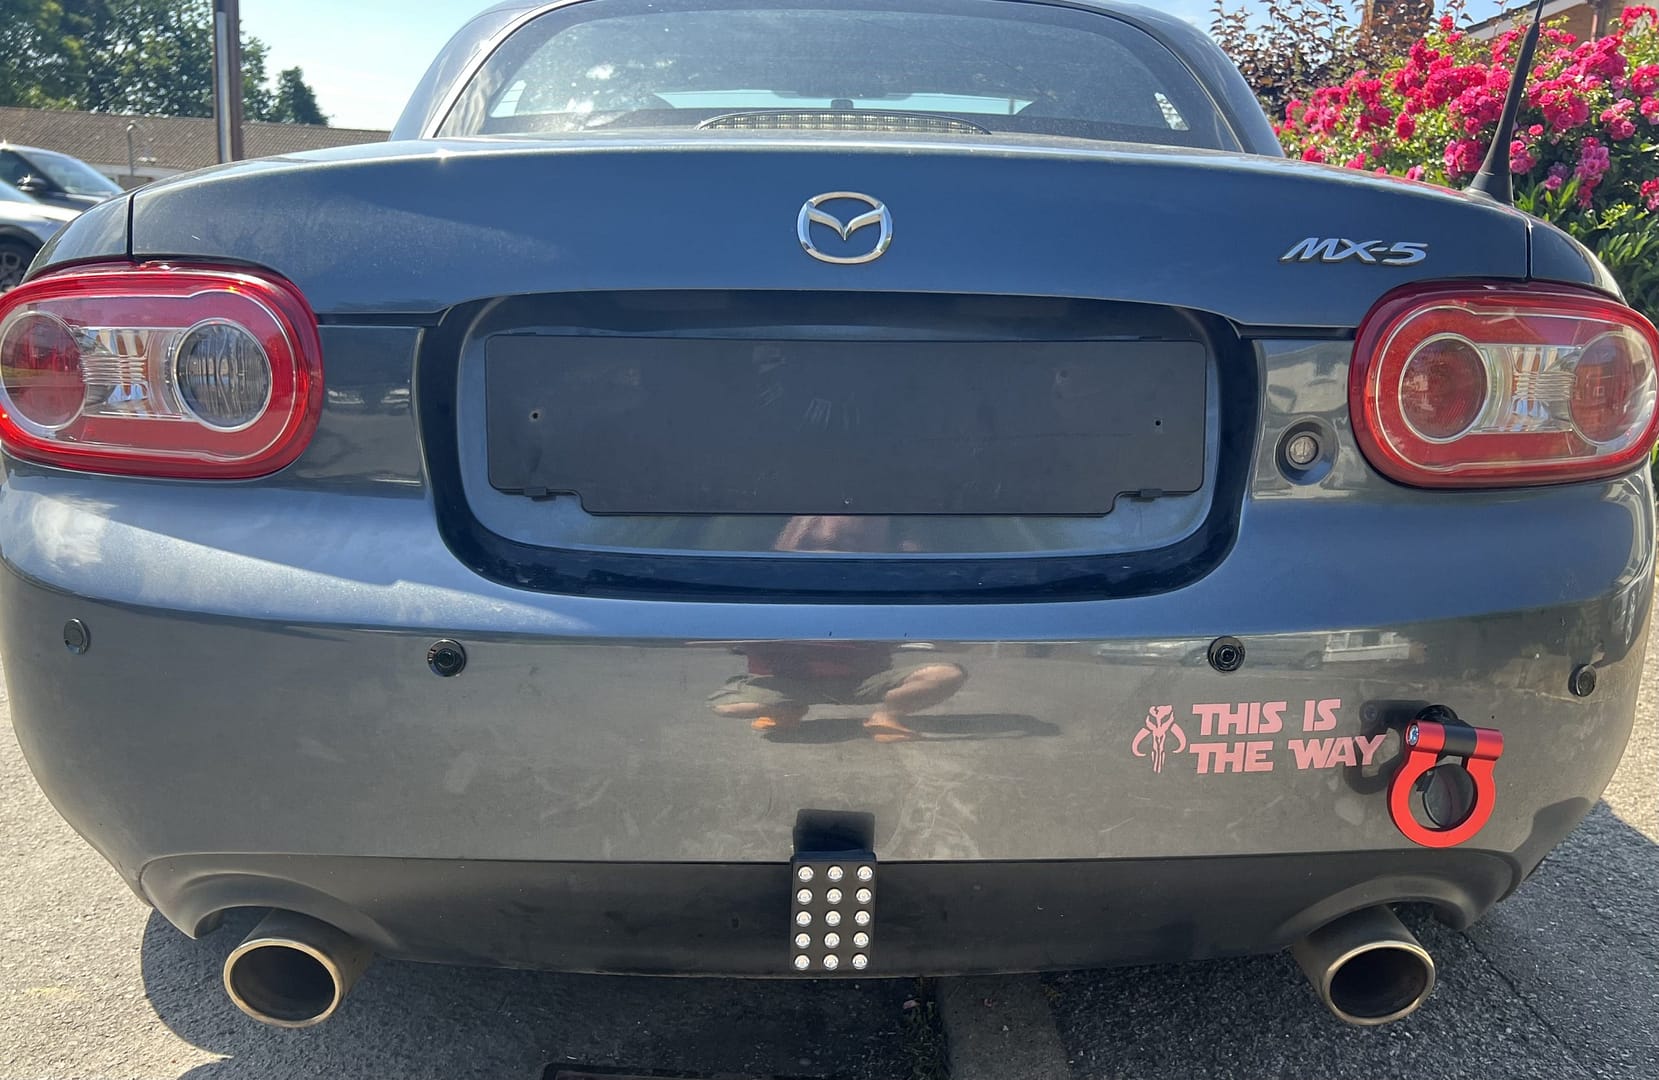
I’ve always been concerned that the OEM towing eye was a hazard for pedestrians when I was not on track and also that removing it left access for water and created a rust trap – as with the rear one that I had to replace as it was corroded badly.
So I decided to replace it with this one from Jass Performance. It screws straight in and looks better than the old one. £38 well spent.
Im booked in now for Silverstone GP Circuit and Thruxton, so on with prepping the car.
Dilema
I’ve managed to break on of my keys when it literally fell apart on me and I’ve no transponder for a replacement.
The question is whether to risk it or get another key. Apparently I need two working keys to programme a third.
So it’s been raining (again) and is therefore the perfect day for Autoglass to come and change the windscreen. I’d noticed a crack in the screen when I was fixing the water leak and it seemed long enough to cause concern about my upcoming MoT so it needed sorting out.
The process was painless enough, book it in for a date, confirm and find its a different date to the one you wanted so change it and get something more convenient.
They ping you by text to say they’ll be there sometime on the day you want then nearer the time they give you updates to say they are on their way.
The lad who fitted it was friendly and got on with it under the really impressive awning/cover mounted on the roof of their van.
Anyway it’s done, the screen looks beautiful and much cleaner than the old one. The instructions were something like don’t drive it for half an hour, don’t wash it for 24 hours, don’t worry about the rain that’s ok.
Next up I’m going to book the MoT and then cross my fingers in the hope that I can then get the season underway and get it filthy again.
So there’s the little matter of an MoT test to prepare for. The number plate bulbs have always been an issue for me and the ones in the MX5 have been temperamental since I got it. So I decided to fit LED ones in the hope of adding reliability.
Again they were bought from MX5 Parts, arrived promptly and were pretty simple to install, with just a simple slide to one side to remove the old units.
the buld housing connected
the old plastic light holder
Here you see the brightness comparison
Job done
Fitted they worked immediately and without fuss. They seem much brighter than the the bulbs they replace. Time will tell about reliability but so far so good.
Now that it’s completed I’m happy with the product, but that rust on the boot is a worry.
I could treat it, but in truth I’m starting to think about,”… simplify and add lightness”, once the MoT is over.
Having made the Mazda weatherproof once again, I decided to replace the side indictors from white to something more dark and moody to match my track day wheels.
It’s not a difficult swap, basically you slide out the old units plug the new one into the bulb holder and re-insert the unit into the hole. It’s advisable to grip the old wires to stop them falling to the body cavity (I used a peg).
If like me you fail to recognise the simplicity of the design and remove the bulb holder and trim the contacts, then when your asleep that night you will wake up in the wee small hours and realise your error fails to make the unit waterproof and you will need to go back and fit the bulb holder which has a rubber grommet to stop the water getting in.
So I’d noticed the footwell carpet was wet and there was a damp musky smell in the car. I pretty much knew what this would be as my previous MX-5 had a similar problem when the drainage channels under the soft top clogged up. The other well known fault was the plastic holders for the screws which secure the panel under the windscreen and this is what my leak turned out to be.
I’d researched the solutions – here’s a link to Completely Driven which is one of the many resources on YouTube I use to think about how to go at fixing the (any) problem with the car.
Here’s a link to YouTube…
I’d ordered parts from MX-5 Parts, these are push-fit rectangular clips with a waterproof seal, The OEM ones go brittle over time and the seal breaks allowing rainwater into the footwell.
I’d ordered the parts from MX5 Parts and they’d arrived in good time I’d also ordered replacement cover which are said to have a tendency to be brittle and break when removed. Mine were fine but I replaced them anyway and so now have the old ones for back-up.
Once the cover (see image above) is removed there is a cross head screw to be removed and then the process of removing the windscreen wipers can begin (14mm Ring Spanner). Resist the temptation to clean the windscreen – the marks will help you position the wipers correctly when you are ready to replace them.
The two part scuttle can then be separated from the body of the car by undoing a few clips. I found I didn’t need to disconnect any water tubes or rubber seals.
The grubby state of things under the scuttle needed cleaning. during this process it was easy to notice how loose the screw mount was and easy to see how water could leak past it. Both sides of mine where in need of replacing and I’d already decided to replace both rather than have the faff of doing it again in a year or so.
Removing wiper bolt cover
Loosening the wiper bolt prior to removal
Cleaning the area
Removing the screw holder
Almost ready for replacement
What’s under the scuttle
The new parts just pop into the hole and spring clip into place. I doubled-down by adding bathroom sealant around the edges and top of the new part.
As a heads up the rubber seal at the head of the scuttle is held in place by a some white plastic T shaped clips and the scuttle front also has some plastic clips to clip it into place. So If it doesn’t fit then it’s probably out of alignment and that’s where to look.
Putting it all back to together was the reverse off taking it apart.
Im pleased to say it all went back together pretty easily and after more heavy rain the carpets are still dry so I’m quite pleased.
The bad news is that when I was down feeling the carpet I noticed there a crack in windscreen from a stone chip so that will need doing before the MoT.
Given the recent monsoon-like conditions, it seems the Mazda has sprung a leak. This is not uncommon and happened in my first MX5. There are some fittings that give up under the windscreen on the weather side which will need some bathroom sealant.
I noticed it looked pretty steamed up, then when I got in it had a damp smell to it. Pic’s to follow once it stops raining and I can dry it out.
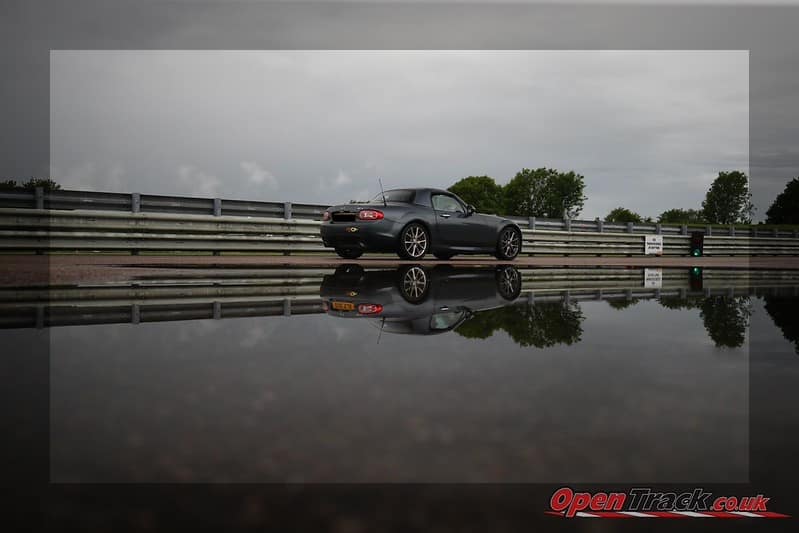
I’d been putting off a return visit to Castle Combe Circuit because it was in excess of £200, but I spotted that OpenTrack were doing it for a much better price in October and so jumped to sign up.
I was last at this track about a year ago when we abandoned the day due to the heavy rain that day so I was cautious about what the car would be shod with; and was mindful that I’d be using the car to get to and from the venue as well as on the track.
Preparation
As the weather was awful in the week running up to the track day I elected to streamline the usual wheels-off preparation and between rain storms checked the tyre pressures, oil level, coolant level, brake fluid level and wheel torque settings properly.
I’m pleased to say the oil level is lovely and stable in this car and oil burning is not yet a problem.
I did a visual check for gearbox and diff oil leaks – both negative; and also for break pad depth and disc brake condition.
In the winter break I’ll be replacing the fluids and toying with the addition of oil pressure and temp sensing, but as all was well no changes where required.
Tyre Choice
The run-up was fraught with weather-watching and trying to decide whether I’d be using the Yokohama AD08’s if it was dry or my standard road tyres if it was wet. The BBC’s forecast changed its opinion throughout the preceding week. I committed to the Yokohamas as late on the day before as I dared and fortunately found myself heading to Wiltshire on a beautiful autumn morning.
It had rained the night before and so I was aware that I’d be carefully warming the tyres up before any pushing as they are allegedly not the strongest wet weather performance tyres.
With that in mind I’m happy to report that they were superb around this track on a broadly dry day.
Registration and Sighting Laps
I’d timed my arrival for between 08.00 and 08.30 and found many had arrived earlier but I still found a place to park and put the gear I take with me out on level ground.
Registration passed without problem but it was clear that you need to complete your online registration, video safety briefing and exam the day before (via your opentrack account).
With my sticker on the car and wrist tag it was off to the scrutineering bay for the noise test. Its an MX5 so no problem there.
A verbal briefing with the organiser and chief marshal and we were good to go: 12 cars on the track at any one time, Indicate & Pull Right to be overtaken on the left only, Overtaking on on straights, not in corners or braking zones, stay off the kerbs or we’ll be black-flagged if we do it too often, Spin and In, Spin on the sighting laps and your going home.
We were sent away by being told that in the previous week a trackway had been cancelled at 10.30am due to a car spilling enough oil on the track for the track team to be unable to clean it up!
Waiting
Sighting laps completed, I waited a bit to let the queue go down and drove round to the pit entry and was treated with a 10 minute wait for access to the track. This was a feature of the whole day and not helped by people going off and red-flagging the session.
When I buy track day insurance my insurer rates Castle Combe (and Thruxton; as well as others) as high-risk tracks and certainly there were several red flags across the day.
The Plan
As relatively new to the track day game, my plan involves spending the first lap to warm the tyres and brakes up, going a little faster in the second and then pushing-on incrementally from there each time I enter the circuit.
The video below shows my fastest laps at the end of the day.
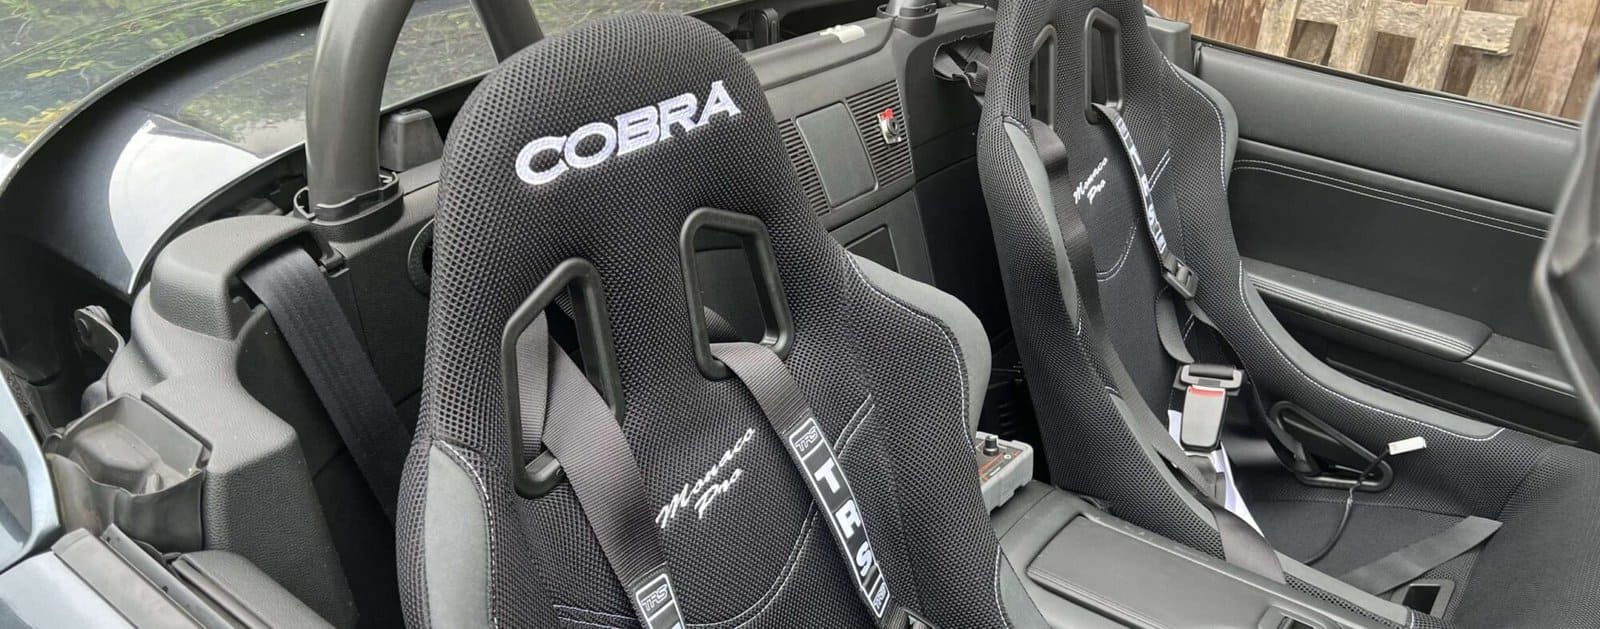
Happy as I was with the seat position, I share the driving at track days with a person with less reach in her legs than me and so it was clear that for comfort and safety I would need to either move the seat manually at track days or fit a sliding runner.
I decided that I would purchase a Cobra sliding runner as they were relatively cheap and logic said must fit properly.
I tried fitting them direct to the base of my seat which was very easy but the runners themselves did not line up with the Barbarian subframe on one side as they were too narrow. As I also did not like the fully upright position I elected to re-fit the Cobra side mounts and mount these to the runners.
I needed to measure and drill two holes into the Barbarian mount but the runners went in. Attempting to fit the slider crossbar I realised that the runners were mounted too narrow for the bar. Whilst they could be compelled to work with a flat head screwdriver this was not ideal.
Sleeping on the problem I elected to bent the bar into the correct width. A couple of railway sleepers in my garden helped facilitate the adjustments required and after one or two attempts it fits and makes adjustment an easy task. It also helps when leaving the vehicle by removing the need to shimmy around the steering wheel, making for much more dignified egress.
Heated leather seats are great
they are comfortable for the road
but sometimes
something more is needed
Anti-Submarining
In the photos the red webbing is closed loop load restraints rated at four tonnes. I’ve installed these under the seat to act as points five and six and address the fear I had about this. At some point I’ll replace the harness but at the moment this is my best fix. I would not recommend this mod to readers as its safety is unclear and knowing what I know know I would have taken the hit and just bought a six point harness.
3-Point Harness (Updated)
I’ve fabricated an extension to the seatbelt stalk and bolted it to the seat base so now I have the option of a three point harness for every day and a full harness for track days.
I will need to purchase a seat occupancy sensor by-pass in due course for the passenger seat so the remaining airbag can still deploy on that side of the vehicle.
Since writing this I found that a seat occupancy sensor bypass for a Mk 3 is difficult to find and I will need to rely on the kindness of an MoT tester or put the old ones back in,
Websites store cookies to enhance functionality and personalise your experience. You can manage your preferences, but blocking some cookies may impact site performance and services.
Essential cookies enable basic functions and are necessary for the proper function of the website.
Name
Description
Duration
Cookie Preferences
This cookie is used to store the user's cookie consent preferences.
30 days
You can find more information in our Cookie Policy and .