Month: September 2025

  • Track Day Seats, another rabbit hole (Part Two)

    Track Day Seats, another rabbit hole (Part Two)

    So it’s done

    Well they’re in (more or less). I looked at Tillett as my favourite choice but they were too expensive, then I looked at Corbeau, Cobra and Recaro.

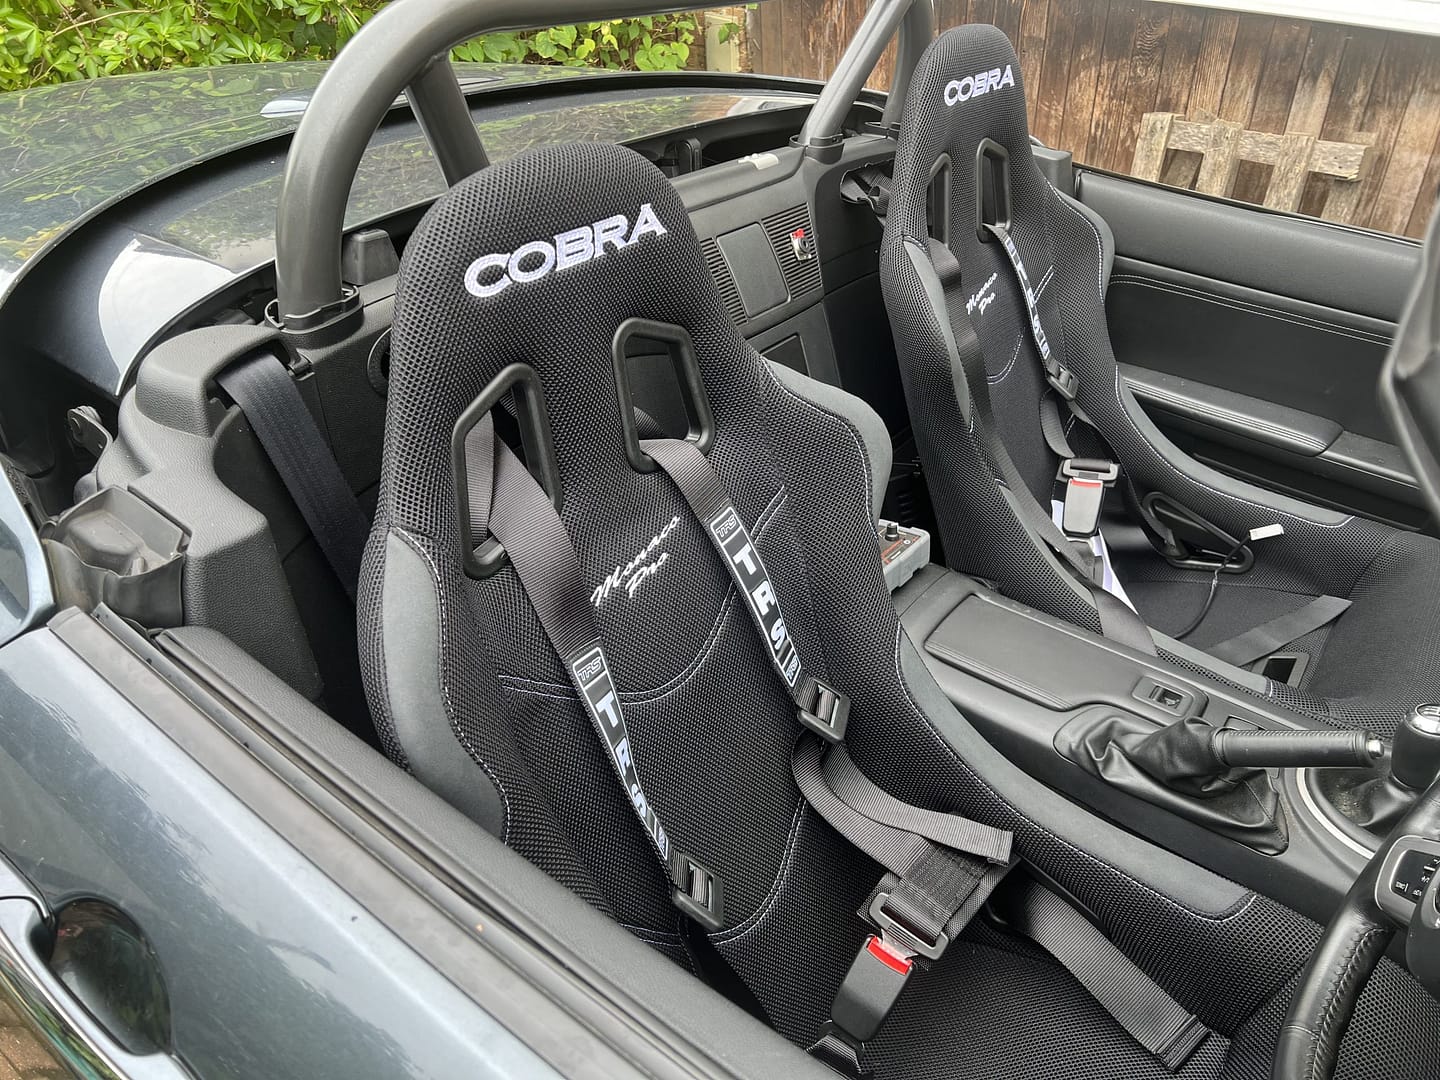
    I wanted GRP or Carbon but ended up with a steel frame, In the end I went for Cobra Monaco Pro’s with steel side mounts, I was unable to work out a solution quickly that would allow me to use the OEM sliders so bought some heavy Barbarian mounts.

    This allowed me to get the Cobra’s installed before another trip to Thruxton Circuit a few days later. I was compelled to do some frilling to get the seats mounted far enough forward.

    I’d elected to get TRS clubman harnesses as an entry into the harness game and these went in without too much hassle. though I was compelled to get some anchor points from Demon Tweaks which arrived promptly.

    Cobra Monaco Pro’s

    I like them, my 34in waist fits in them well enough without being too tight. They look fab but are heavier than the Tilletts and GRP seats I had been looking at. They remained comfortable both for the drive to Thruxton and a full track day there.

    TRS Clubman Harness

    Postbox in the plastic are to allow Harness to attach of Harness Bar of Roll Bar
    In this image I still need to roll the excess harness straps

    It’s a four-point harness father than the six I had wanted. They don’t have a sensor in them for your warning lights so Ive decided to keep the three point as well and extend the OEM seatbelt stalk to get it to the right height for use with the seat.

    I’m looking at a solution for addressing the five/six point option without buying a new harness this year.

    Cybul recommend cutting a post box cutout in the trim to allow a harness to attach to the bar. Drilling this out with a large wood drill bit saw shards of plastic flying everywhere making it a complete pain to clean afterwards. I’ve protected the harness by edging the post box with rubber trim. (see above).

    I had not allowed for how restrictive to movement these were in comparison to a three point harness. So much so that I can’t switch the GoPro on when harnessed in and when trying to look over your shoulder – probably another reason to keep the three point harness for street use.

    Trying it all at Thruxton I was super happy. A few tidy ups remain to be sorted out namely, the OEM harness, buckle mount, fit a passenger presence sensor bypass module, attempt a five point solution for the harness and finally try to find an option to re use the Mazda sliding seat brackets for other drivers.

    But all in all I’m very happy with the new gear.

  • Track day seats, another rabbit hole (Part One)

    Track day seats, another rabbit hole (Part One)

    It is surprisingly difficult to purchase seats for your Mk3 MX-5 with confidence. Since installing the roll bar I’ve become preoccupied with the fact that I have a harness bar that I’m not using, that most of what I’ve read tells me you shouldn’t use a full harness with a OEM seat that doesn’t have the proper slots behind the shoulders to keep everything in alignment; that a full harness shouldn’t be used without a HANS device to protect your head and neck; and that if you roll it with a full harness you cant move your head out of the way or the dangers of submarining with four point harnesses. So In these next few posts I’m going to have a go at sorting it out in my head.

    The Cars Current Spec

    My Sport Tech has leather seats with heaters, side air-bags and height adjustment. I refurbished them shortly after I bought the car as the drivers seat was worn at the entry point and scuffed white in colour. I’d bought a two-part kit off eBay which was essentially a colour restorer and leather conditioner. The results were pretty good and have lasted the year since I bought the car. I don’t really go fast enough to need bucket seats but I remain hopeful.

    Seat Base(ics)

    If you are content to have a fixed seat there will be no problem once you have found a seat that fits, in finding a seat base which won’t be too expensive.

    For us the problem comes when you have drivers of differing leg lengths and require a sliding seat mount. The solution is likely to be expensive unless you have fabrication skills or the equipment to adapt the OEM runners.

    YouTube, at least mine seems to be poor on this subject and there is space here for you content creators to fill. In order to get my head around the subject I spent the morning taking my driver-side seat and runner apart.

    Taking the seat out

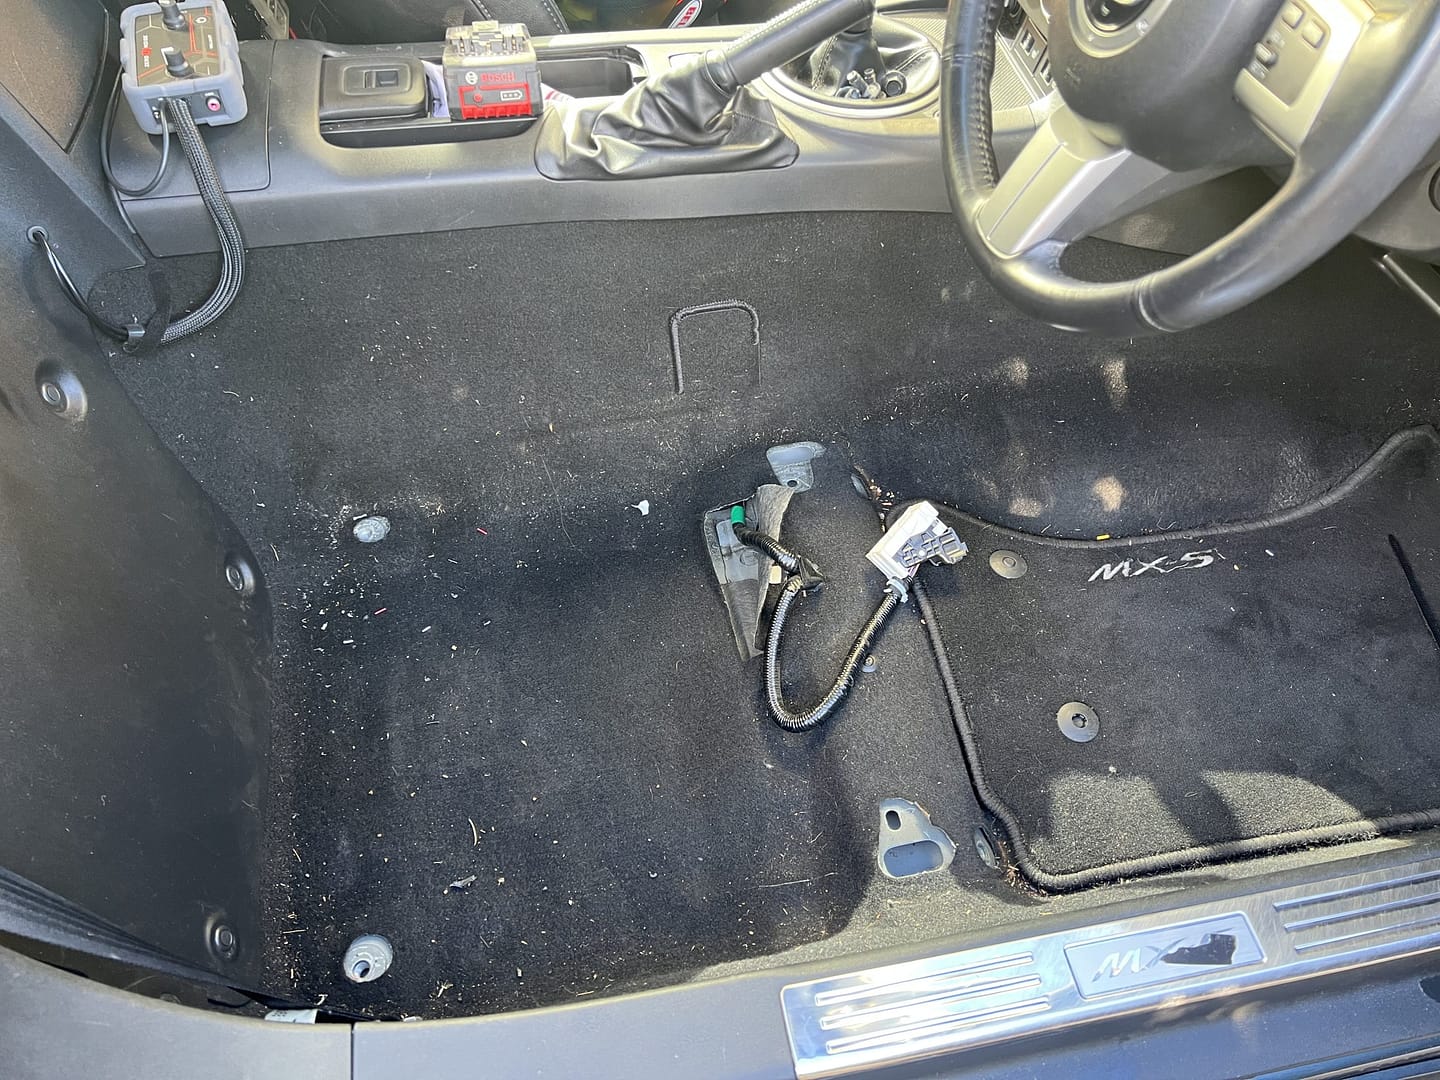
    My seat is armed and dangerous, with a side airbag which would ruin you day if it went off while you were near it; so I disconnected the battery and waited a while for the system to become safe.

    I separated the large white connector clock by moving the black tab that locks the two halves together and sliding the black connector locking mechanism back. Chair side of the connector is locked on a bar attached to the seat and the car side falls to the floor. Four 14mm bolts in the runners corners are undone and the seat can be removed from the car. You then stand there aghast at the rubbish hiding under your seat.

    Separating the runner from the seat

    Turning the seat over gives you access to the Hex bolts that attach the runner to the base. Two are easy to remove and two need a crafty orientation of the sliding rail to facilitate access through the larger hole.

    It’s at this point that you realise the bolt holes are off-set from each other and some modification to the runner or replacement thereof or of any new side mount will be required.

    Drivers Side Connectors

    Looking past the block there seem to be connectors for the Air Bag cable (defeated with a 2.2 ohm – 1w Resistor) , Seat Heater (two cables) and Seat Belt sensor cable.

    Putting it all back together was pretty straight forward. So now the thinking begins.

    ,
Optimized by Optimole